
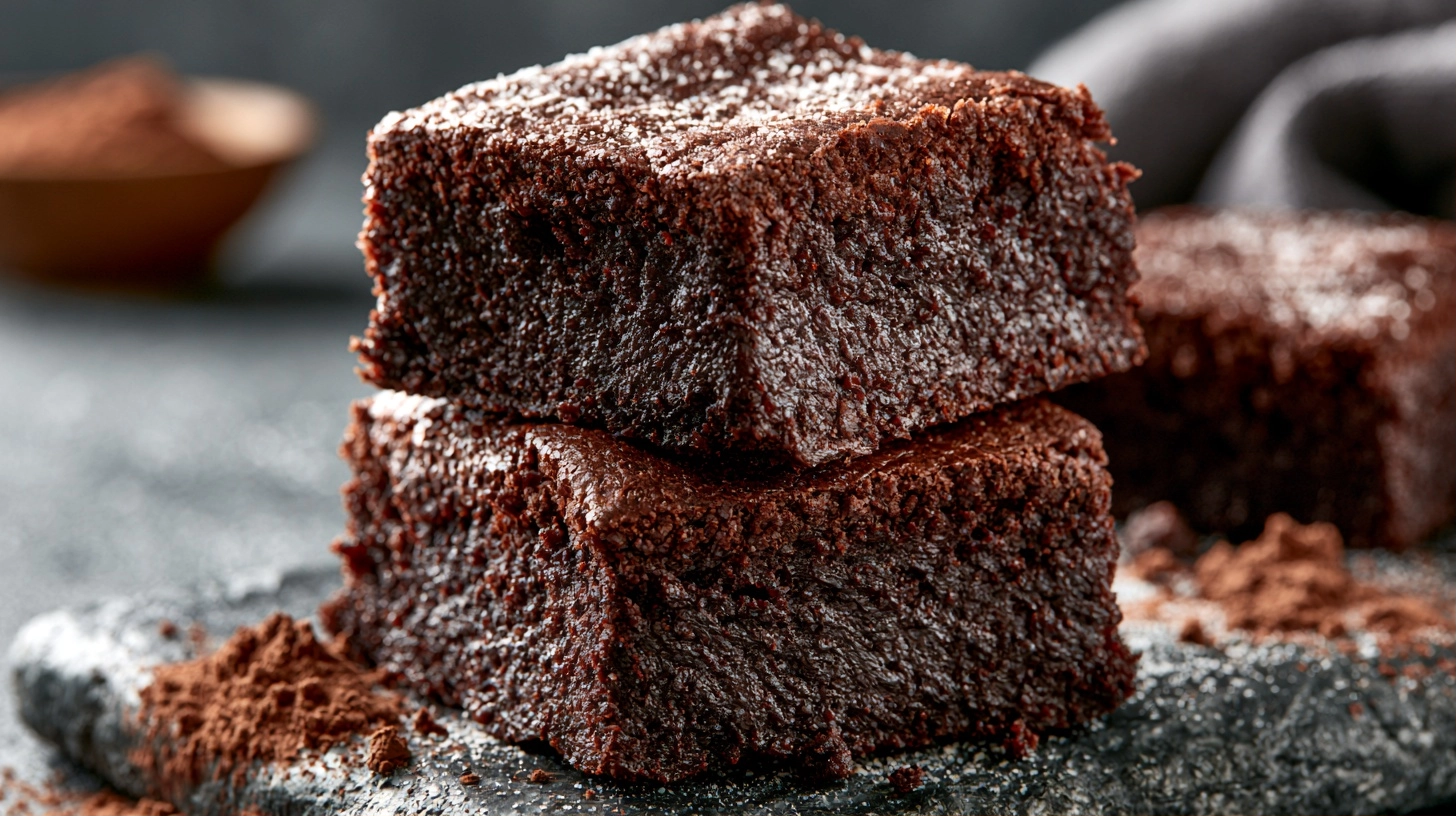
Are you searching for the perfect treat that caters to dietary needs without sacrificing flavor? Look no further than delicious gluten free brownies. These delectable desserts offer a rich, chocolatey experience, perfect for anyone avoiding gluten. They prove that you can achieve incredible taste and texture in gluten free baking.
Crafting fudgy brownies that are also gluten free is simpler than you might think. Many recipes now utilize a high-quality gluten free brownie mix, making the process incredibly convenient. Alternatively, you can create them from scratch using a blend of gluten free flour, often enhanced with a touch of xanthan gum for improved structure. This ensures your brownies are moist and chewy, not crumbly.
The secret to their irresistible taste often lies in premium ingredients. Think rich cocoa powder, melted chocolate chips, and a hint of brown sugar for depth. For those with additional dietary considerations, many recipes can easily be adapted to be dairy free by using plant-based alternatives. Preparing these treats in a standard baking pan guarantees an even bake every time. Get ready to enjoy a batch of these delightful squares, proving that gluten-free can be utterly delicious.
Why You’ll Love These Gluten-Free Brownies
You will love these delicious treats because they offer an unmatched combination of rich taste and fantastic texture. First, they deliver an intense chocolate flavor that satisfies any craving. You will also appreciate the fudgy, moist consistency, which is often a challenge in alternative baking. This recipe achieves that perfect balance. Furthermore, these gluten free brownies are surprisingly easy to make. They utilize simple ingredients you likely have on hand. You begin by melting butter and chocolate together. Then you combine this with other components at room temperature. A touch of baking powder helps with a slight lift. We use a blend of almond flour and coconut flour for the base. King Arthur brand flours are an excellent choice for consistent results. A hint of vanilla extract enhances the overall richness. Once baked in a square pan, store them in an airtight container for lasting freshness.
Essential Ingredients for Perfect Gluten-Free Brownies
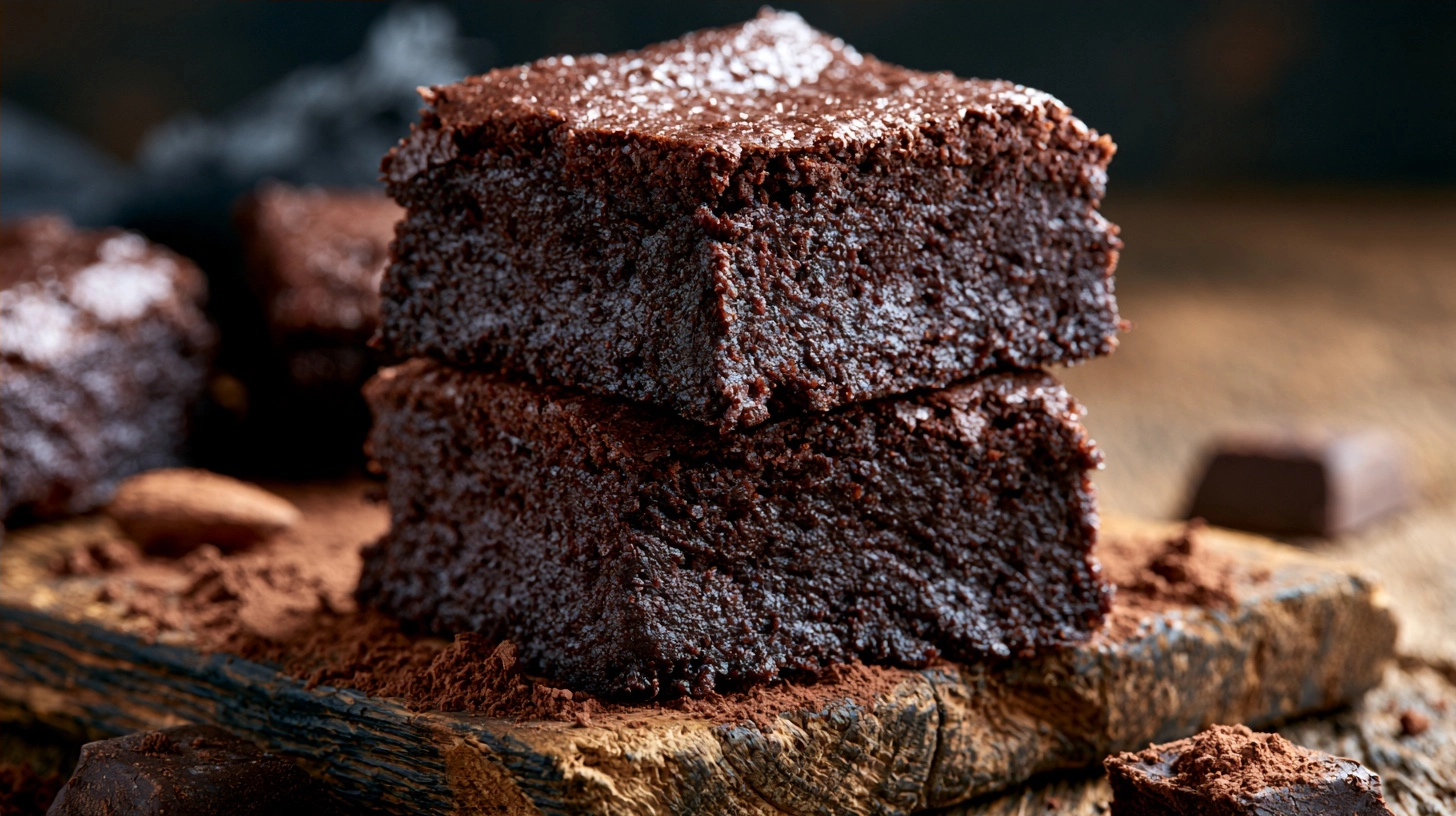
What ingredients are essential for perfect gluten free brownies? Achieving rich, fudgy results requires a careful selection of components. The right blend ensures both delightful taste and a satisfying texture. This recipe focuses on quality to create an exceptional treat.
You will start with good quality chocolate. A key step involves melting butter with this chocolate. This creates a smooth and decadent base for your mixture. A suitable sweetener also plays a crucial role.
Furthermore, the choice of alternative flours greatly influences the final product. These flours contribute to the structure and moisture content. Precise baking time is also vital for the ideal consistency. Avoid overbaking to keep them moist.
| Ingredient | Quantity/Notes |
|---|---|
| Unsalted Butter | 1/2 cup (113g), melted |
| Semi-Sweet Chocolate Chips | 1 cup (170g), to melt chocolate |
| Granulated Sweetener | 1 cup (200g) |
| Large Eggs | 2 units |
| Vanilla Extract | 1 teaspoon |
| Gluten-Free All-Purpose Flour Blend | 3/4 cup (90g) |
| Unsweetened Cocoa Powder | 1/4 cup (22g) |
| Salt | 1/4 teaspoon |
Choosing the Best Gluten-Free Flour Blend
What is the best alternative flour blend for your fudgy treats? Selecting the right blend is crucial for achieving perfect texture in your gluten free brownies. A good quality all-purpose alternative flour blend works wonderfully. These blends often combine rice flour, tapioca starch, and potato starch. You can also create your own blend for specific results. For instance, a mix of almond flour and a touch of coconut flour adds richness. This combination contributes to a moist and chewy outcome. Ensure your chosen blend measures cup-for-cup like traditional flour. This makes adapting recipes much easier. The right blend prevents crumbly results. It helps bind the other components, including the melted butter.
Optional Mix-Ins for Extra Indulgence
Do you want to elevate your gluten free brownies to new heights? Consider adding optional mix-ins for an extra touch of decadence. These additions can introduce new textures and tastes. They truly make each bite a delightful surprise. You can stir in some chopped nuts for a satisfying crunch. Walnuts or pecans are classic choices. Alternatively, dried fruits like cranberries or cherries offer a pleasant chewiness. A swirl of caramel or peanut butter before baking creates beautiful ribbons of flavor. For even more richness, include white confectionery chunks. These melt slightly, adding creamy pockets throughout your baked treats.
Step-by-Step Guide: How to Make Gluten-Free Brownies
How do you make delicious gluten free brownies? Follow these steps for a perfect batch of these delightful treats. This detailed guide will help you achieve fudgy perfection. Each stage is crucial for the final texture and taste.
- Step 1: Prepare your workspace. Preheat your oven to 350°F (175°C). Line an 8×8 inch pan with parchment paper. This prevents sticking and makes removal easy.
- Step 2: Melt the butter and confectionery. In a microwave-safe bowl, combine the measured butter and confectionery pieces. Heat in 30-second intervals, stirring until smooth. This creates a rich base.
- Step 3: Whisk in the wet components. Add the granulated sweetening agent and eggs to the melted mixture. Stir well until thoroughly combined. Incorporate the vanilla essence for added depth.
- Step 4: Combine dry components. In a separate bowl, whisk together the alternative flour blend, cocoa, and salt. Ensure there are no lumps. This promotes even distribution.
- Step 5: Gently combine wet and dry. Gradually add the dry blend to the wet mixture. Mix until just combined. Do not overmix; this can lead to tough pastries.
- Step 6: Pour and bake. Pour the batter into your prepared pan. Spread it evenly with a spatula. Bake for 25-30 minutes. A toothpick inserted should come out with moist crumbs.
- Step 7: Cool completely. Let the baked goods cool in the pan on a wire rack. This is important for setting their fudgy texture. Slice and serve once fully cooled.
Preparation and Mixing Tips
What are some good tips for preparing and mixing your ingredients? Careful preparation and mixing are key to achieving the perfect texture for your brownies. These techniques ensure your ingredients blend smoothly. They prevent common baking problems like dry or crumbly results. Always measure your components precisely. Use a kitchen scale for the most accurate results. Sift your dry components together before adding them to the wet mixture. This step breaks up any lumps. Furthermore, it ensures even distribution throughout the batter. When combining wet and dry components, mix until just incorporated. Overmixing develops the starches, leading to a tougher texture. A gentle hand guarantees a tender, fudgy outcome. Scrape down the sides of your bowl frequently. This ensures all components are fully integrated.
Baking Times and Doneness Cues
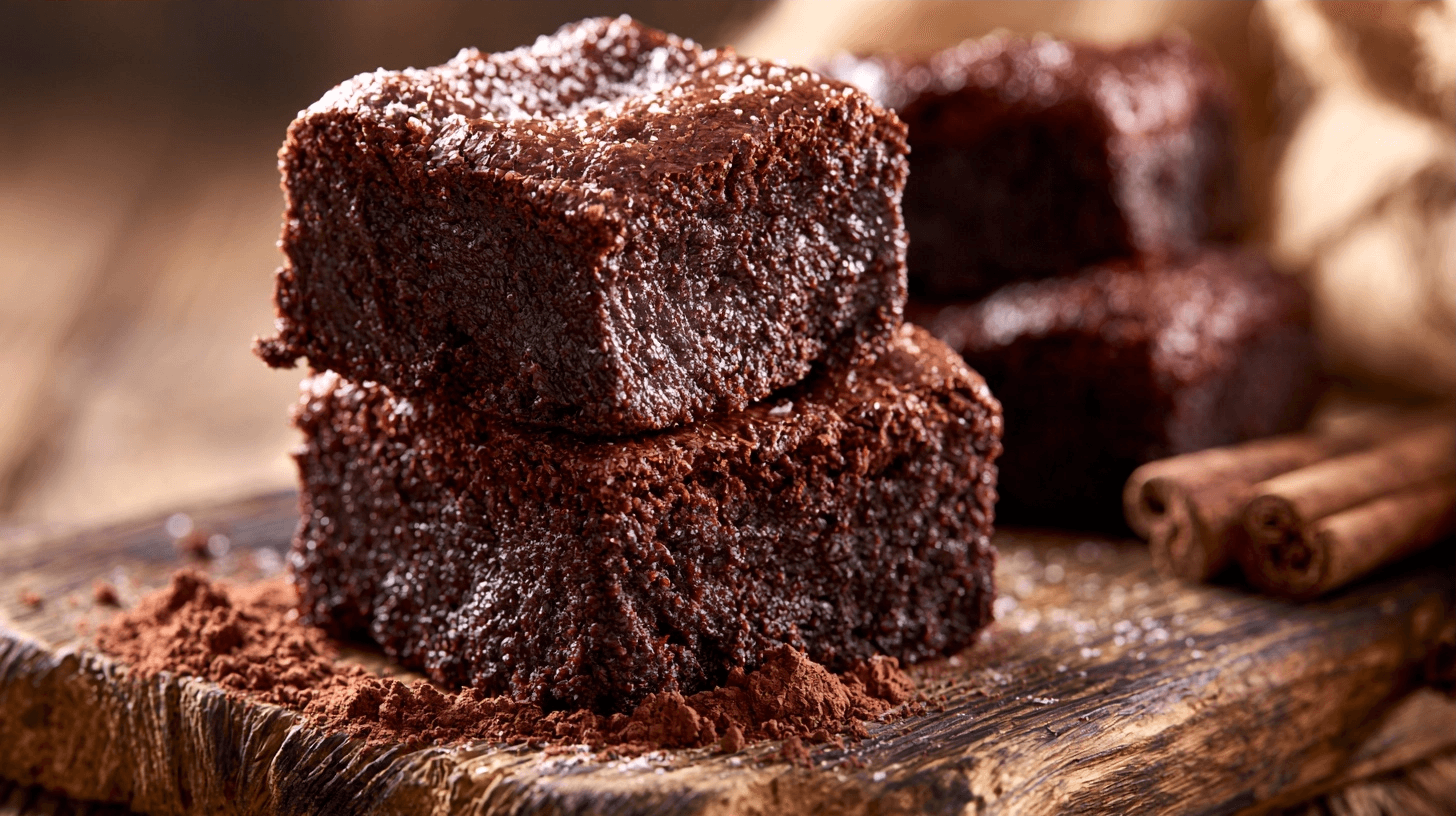
What are the ideal cooking durations and signs of readiness for your delectable treats? Achieving perfect gluten free brownies requires precise attention to the oven. The cooking duration can vary based on your oven and pan material. Typically, these delightful pastries cook for 25 to 30 minutes. To check for readiness, insert a toothpick into the center. It should come out with moist crumbs, not wet batter. If it comes out completely clean, your brownies might be overcooked. This results in a drier, less fudgy consistency. Conversely, a toothpick covered in raw batter means they need more time. Remove them from the heat when they still look slightly undercooked in the middle. They will continue to set as they cool.
Tips for Achieving the Fudgiest Gluten-Free Brownies
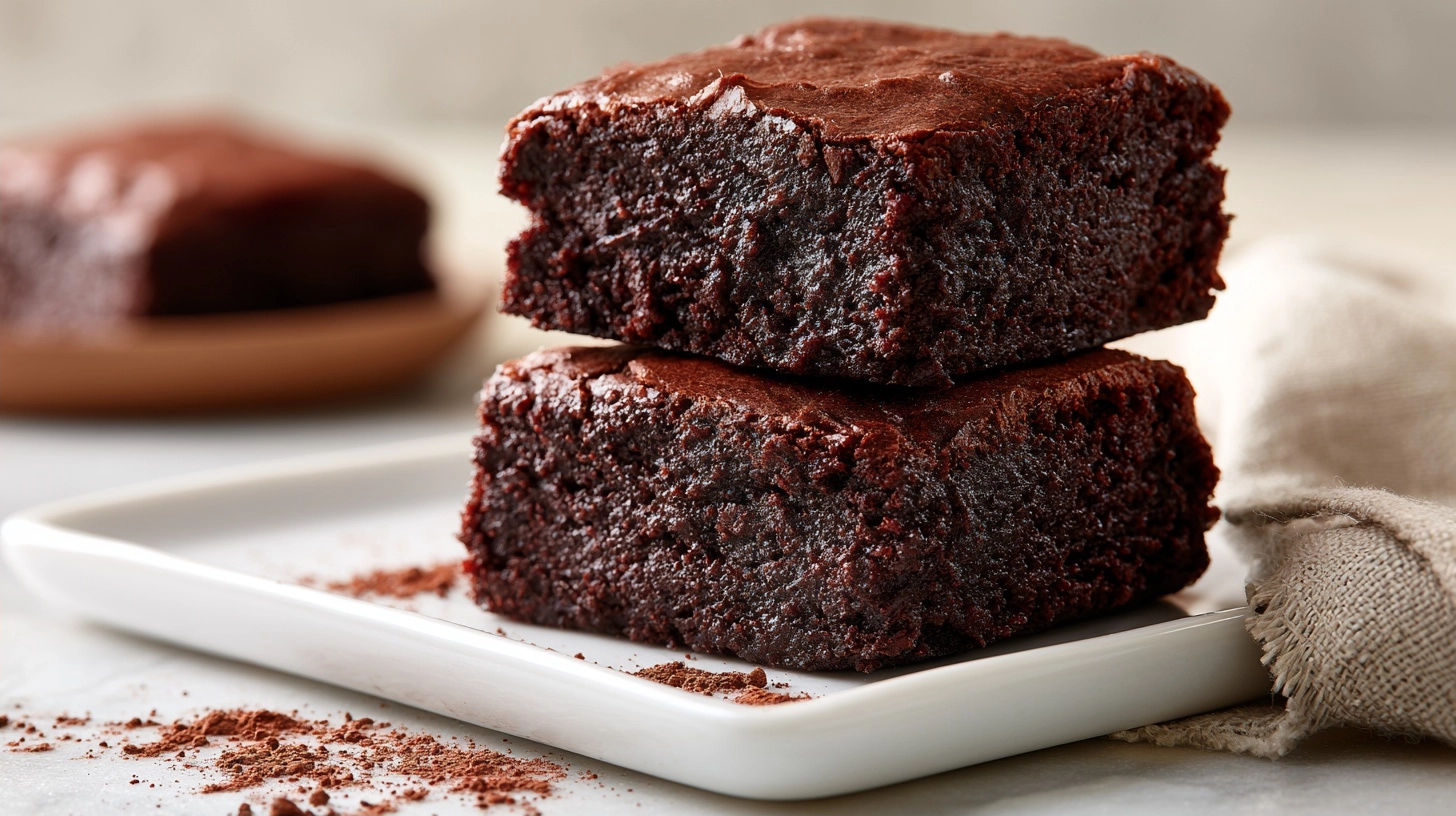
How can you ensure your delightful treats are as wonderfully fudgy as possible? Achieving truly fudgy gluten free brownies involves several key techniques. These methods focus on moisture retention and proper cooling. They help create that desirable dense, chewy texture. First, do not overbake your treats. Pull them from the heat when a toothpick inserted into the center still has moist crumbs. This prevents dryness. Furthermore, using good quality cocoa and a rich fat source enhances the fudginess. Allow them to cool completely in the pan. This step is crucial for the texture to set properly. Chilling them after cooling can further intensify their dense, fudgy quality.
Troubleshooting Common Gluten-Free Baking Issues
How can you resolve typical baking challenges when making these delicious desserts? Baking without traditional flours can present unique hurdles. However, understanding common pitfalls helps you achieve perfect results. Many issues stem from ingredient substitutions or incorrect measurements. For example, a crumbly texture often indicates too much dry component or insufficient moisture. Try slightly increasing the liquid next time. If your treats are too dense, you might have overmixed the batter. Gentle mixing is always best. Furthermore, uneven cooking can occur with varying oven temperatures. Consider using an oven thermometer to ensure accuracy. Proper cooling is also vital. Allow your baked goods to cool fully before slicing. This prevents them from falling apart.
Storage and Freezing Instructions
How should you properly store and freeze your delicious treats to maintain their freshness? Proper storage ensures your baked goods remain moist and flavorful for an extended period. Freezing offers a convenient way to enjoy these delightful items later. Follow these steps to preserve their quality.
- Step 1: Cool Completely. Allow your baked goods to cool fully on a wire rack. This prevents condensation, which can lead to sogginess.
- Step 2: Wrap Tightly. Once cooled, wrap the entire slab or individual pieces tightly in plastic film. Ensure no part is exposed to air.
- Step 3: Add a Second Layer. For extra protection against freezer burn, wrap the plastic-covered items again in aluminum foil.
- Step 4: Place in Freezer Bag. Put the double-wrapped items into a large freezer-safe bag. This creates another barrier against moisture loss.
- Step 5: Freeze for Longevity. Label the bag with the date. Your delightful treats can be stored in the freezer for up to three months.
- Step 6: Thaw and Enjoy. When ready to serve, thaw them at cool temperatures for several hours. You can also gently warm them in an oven.
More Delicious Gluten-Free Dessert Recipes to Try
Are you looking for more delightful dessert options that cater to specific dietary needs? Many fantastic recipes exist beyond rich cocoa squares. You can explore a world of flavors. These alternatives offer variety and satisfaction. They ensure everyone can enjoy a sweet treat. Here are some other wonderful dessert ideas to expand your repertoire.
| Dessert Type | Key Ingredients | Notes |
|---|---|---|
| Lemon Drizzle Loaf | Rice flour, fresh lemon juice, granulated sugar | Bright, zesty, and moist. |
| Berry Crumble | Rolled oats, mixed berries, maple syrup | Warm, comforting, and fruity. |
| Peanut Butter Cookies | Peanut butter, eggs, granulated sugar | Chewy, nutty, and quick to make. |
| Apple Cinnamon Muffins | Sorghum flour, diced apples, ground cinnamon | Perfect for breakfast or a snack. |
Frequently Asked Questions About Gluten-Free Brownies
What is the best gluten-free flour for brownies?
Many bakers find a blend of different flours works best for delicious brownies. A combination of rice flour, tapioca starch, and potato starch often yields optimal texture. This mix helps achieve a fudgy consistency without a gritty mouthfeel. Experiment with various blends to find your perfect match.
Are gluten-free brownies healthier than regular brownies?
Not necessarily. The healthfulness of these treats depends on the specific recipe and its components. While they lack gluten, many recipes still contain significant amounts of sugar and fat. Focus on wholesome alternative components for a more nutritious dessert.
How do you make gluten-free brownies from scratch?
First, melt your preferred fat and cocoa. Then, whisk in eggs and a granulated sugar substitute. Gradually add your dry items, like a specialized flour blend and leavening agent. Pour the mixture into a prepared dish and bake until a toothpick inserted comes out with moist crumbs.
Where can I buy gluten-free brownie mix?
You can find these baking aids at most major grocery stores. Check the baking aisle or the dedicated dietary needs section. Online retailers also offer a wide selection of ready-to-use mixes. Compare brands for the best option.
Should I use a metal or glass pan for gluten-free brownies?
Both metal and glass pans work well for baking these delightful desserts. Metal pans generally conduct heat more quickly, potentially leading to crispier edges. Glass pans retain heat longer, which can result in a more evenly cooked center. Adjust your baking duration accordingly.
Want more sweet and savory recipes like this? Follow us on Facebook for daily dinner ideas, cooking tips, and behind-the-scenes moments from Eminent Recipes.
See how others are plating this dish on Instagram! Tag your version with #Eminentrecipes and get featured.
Love collecting recipes? Don’t miss our latest pins on Pinterest perfect for saving your favorite meals in one spot.
Ultimate Brownie Chocolate Sundae: Indulge in Decadent Delight
Ghirardelli Brownie Mix – 7 Easy Tips for Perfect Fudgy Brownies
Brownie Pan Guide – 10 Best Picks for Perfect Brownies
Irresistible Sluty Chocolate Brownies: Oreo & Cookie Dough Layers
Print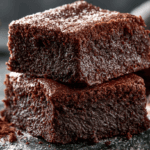
Irresistibly Fudgy Gluten Free Brownies
- Total Time: 45 minutes
- Yield: 16 brownies
Description
These delectable gluten-free brownies offer a rich, chocolatey experience with a fudgy, moist consistency, perfect for anyone avoiding gluten. They are surprisingly easy to make and use simple ingredients.
Ingredients
Unsalted Butter: 1/2 cup (113g), melted
Semi-Sweet Chocolate Chips: 1 cup (170g)
Granulated Sweetener: 1 cup (200g)
Large Eggs: 2 units
Vanilla Extract: 1 teaspoon
Gluten-Free All-Purpose Flour Blend: 3/4 cup (90g)
Unsweetened Cocoa Powder: 1/4 cup (22g)
Salt: 1/4 teaspoon
Instructions
Preheat your oven to 350°F (175°C). Line an 8×8 inch pan with parchment paper.
In a microwave-safe bowl, combine the measured butter and semi-sweet chocolate chips. Heat in 30-second intervals, stirring until smooth.
Add the granulated sweetener and eggs to the melted mixture. Stir well until thoroughly combined. Incorporate the vanilla extract for added depth.
In a separate bowl, whisk together the gluten-free all-purpose flour blend, cocoa powder, and salt. Ensure there are no lumps.
Gradually add the dry blend to the wet mixture. Mix until just combined. Do not overmix.
Pour the batter into your prepared pan. Spread it evenly with a spatula.
Bake for 25-30 minutes. A toothpick inserted should come out with moist crumbs.
Let the baked goods cool completely in the pan on a wire rack. Slice and serve once fully cooled.
- Prep Time: 15
- Cook Time: 30