
A Red Velvet Christmas Cake provides a moist, deep red sponge paired with velvety cream cheese frosting for your holiday dessert table. At Eminent Recipes, I focus on creating reliable desserts that deliver consistent results for home bakers. This classic cake offers a soft texture and a sophisticated tangy sweetness that everyone expects during the festive season. You will love this recipe because it uses simple pantry staples to produce a bakery-quality centerpiece with minimal effort.
Recipe Overview
| Prep Time | Cook Time | Total Time | Servings | Difficulty | Cuisine |
|---|---|---|---|---|---|
| 20 mins | 30 mins | 1 hour 50 mins | 12 | Easy | American |
Why This Recipe Works
This recipe succeeds because it balances the natural acidity of buttermilk with the mellow cocoa undertones found in traditional velvet cakes. Many red velvet recipes result in dry crumbs, but my method emphasizes room-temperature ingredients and precise mixing to maintain moisture throughout the baking process.
You will appreciate the flexibility of this dessert when hosting large gatherings or intimate family dinners. It serves as a comfortable, customizable base that looks stunning on a holiday platter while remaining approachable enough for busy weeknights before the main festivities begin.
Ingredients
| Ingredient | Quantity | Notes |
|---|---|---|
| All-purpose flour | 300 g | Spoon and level carefully |
| Natural cocoa powder | 15 g | Sift to remove clumps |
| Baking soda | 5 g | Ensure freshness for lift |
| Fine salt | 6 g | Enhances flavor profile |
| Neutral oil | 240 ml | Canola or vegetable works best |
| Granulated sugar | 300 g | Standard white sugar |
| Large eggs | 2 units | Room temperature |
| Buttermilk | 240 ml | Room temperature |
| White vinegar | 15 ml | Reacts with baking soda |
| Red gel coloring | 15 g | Provides intense color |
| Cream cheese | 450 g | Full-fat, softened |
| Unsalted butter | 170 g | Softened to room temperature |
| Powdered sugar | 480 g | Sifted before adding |
Step-by-Step Instructions
Preparation Phase
- Preheat your oven to 175 degrees Celsius and grease two 23 cm round pans.
- Line the bottoms of your prepared pans with parchment paper for easy removal.
Mixing Phase
- Whisk the flour, cocoa powder, baking soda, and salt for 30 seconds until fully incorporated.
- Combine the oil and sugar in a large bowl, whisking vigorously for one minute.
- Add the eggs one at a time, followed by the vanilla and red gel food coloring.
- Stir the vinegar into the buttermilk to create a quick acid-base reaction.
- Add the dry ingredients to the wet mixture in three additions, alternating with the buttermilk.
- Whisk gently until just combined, ensuring no dry flour remains at the bottom.
Baking and Assembly
- Divide the batter equally between your prepared pans.
- Bake for 25 to 30 minutes or until the top springs back when touched.
- Cool in the pans for 10 minutes before moving to a wire rack for one hour.
- Beat the cream cheese and butter until smooth, then incorporate the sugar and vanilla.
- Trim the domed tops, create crumbs, frost the layers, and decorate with shavings.
Chef Tips for Perfect Results
- Always use gel food coloring instead of liquid to avoid altering the batter consistency.
- Ensure your buttermilk and eggs sit at room temperature for at least 30 minutes before mixing.
- Sifting your cocoa powder is mandatory to prevent small chocolate lumps in your sponge.
- Chill your finished cake for 30 minutes before serving to ensure the frosting sets properly.
Common Mistakes to Avoid
- Over-mixing the batter leads to a tough cake; always stop as soon as the flour disappears.
- Using cold ingredients creates a curdled batter, which results in a dense texture.
- Failing to trim the cake tops results in a wobbly, uneven stack during assembly.
- Adding frosting to warm layers causes melting; wait until the cake cools completely to room temperature.
Variations and Substitutions
| Ingredient | Substitution | Impact |
|---|---|---|
| Neutral oil | Melted butter | Adds richer flavor but slightly denser crumb |
| Buttermilk | Milk with lemon juice | Similar acidity but less tangy flavor |
| White chocolate | Crushed peppermint | Provides a festive seasonal crunch |
Storage and Reheating
| Method | Duration | Instructions |
|---|---|---|
| Counter | 24 hours | Cover in a cake dome |
| Refrigerator | 5 days | Keep in an airtight container |
| Freezer | 3 months | Wrap layers in double plastic wrap |
Nutritional Information
Approximate values per serving:
| Nutrient | Amount per Serving |
|---|---|
| Calories | 480 kcal |
| Fat | 28 g |
| Carbohydrates | 55 g |
| Protein | 5 g |
Frequently Asked Questions
Can I substitute the buttermilk with regular milk?
You should use a mixture of milk and lemon juice to mimic the acidity of buttermilk. This provides the chemical reaction necessary for the baking soda to leaven the cake correctly.
How do I know when the cake is finished baking?
Your cake is finished when a toothpick inserted into the center comes out clean or with a few moist crumbs. The top should also spring back when gently pressed with a fingertip.
Why did my frosting turn out too soft?
Soft frosting usually results from butter or cream cheese that was too warm during mixing. Chill the finished frosting in the refrigerator for 15 minutes to firm it up before applying it to the cake.
Can I make this cake ahead of time?
You can bake the cake layers up to two days in advance if you wrap them tightly in plastic. Assemble the cake the day before serving to allow the flavors to meld together beautifully.
What is the best way to slice the cake?
Slice the cake using a warm, sharp knife dipped in hot water and wiped dry. This technique ensures clean, professional edges on every slice of your Red Velvet Christmas Cake.
This Red Velvet Christmas Cake remains a reliable holiday favorite for its striking color and balanced flavor. By following these precise steps, you achieve a moist texture and a creamy finish that impresses every guest at your table. Start your baking process early to ensure the best results for your festive celebration. Enjoy the deep, classic taste of this timeless dessert during your next holiday gathering.
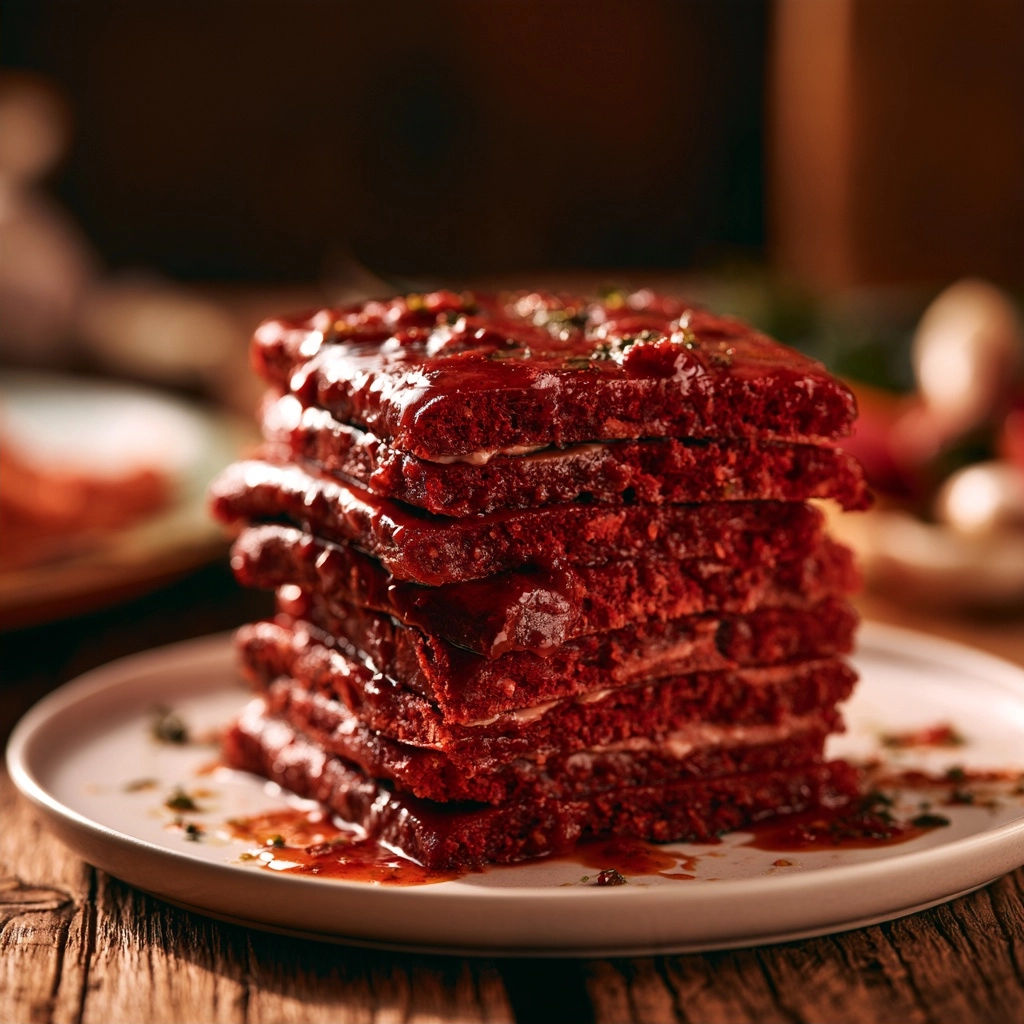
Red Velvet Christmas Cake
Ingredients
Method
- Prep the pans. Place a rack in the middle and preheat to 175°C (350°F). Grease two 23 cm (9-inch) round pans and line the bottoms with parchment.
- Mix the dry ingredients. Whisk the flour, cocoa, baking soda, and salt for 30 seconds, until evenly colored.
- Mix the wet ingredients. In a large bowl, whisk the oil and sugar for 1 minute. Whisk in the eggs one at a time, then the vanilla and food coloring for 1 minute, until the mixture is smooth and deep red with no streaks.
- Add the buttermilk. Stir the vinegar into the buttermilk. Add the dry mixture to the wet in 3 additions and the buttermilk in 2, starting and ending with the dry. Whisk gently just until no dry flour remains. The batter will be thin.
- Bake. Divide equally between the pans. Bake 25 to 30 minutes, until the tops spring back and a toothpick in the center comes out clean.
- Cool. Cool 10 minutes in the pans, then turn out onto a rack and cool completely, about 1 hour. Warm layers melt the frosting.
- Make the frosting. Beat the cream cheese and butter on medium speed 2 minutes, until smooth with no lumps. Add the vanilla and salt. On low speed, add the powdered sugar, then beat on high 1 minute, until fluffy. If it is soft, chill 15 minutes.
- Level the layers. Trim any domed tops with a serrated knife. Rub the trimmed pieces through a sieve to make fine red crumbs for decorating.
- Assemble. Spread about one-third of the frosting on the first layer, add the second layer, then frost the top and sides with the rest.
- Decorate and set. Press the crumbs around the base or on top and scatter the white chocolate shavings. Chill 30 minutes for clean slices.
Notes
- Color: Use gel coloring for a vivid red without extra liquid. Cocoa and vinegar help the color, so don’t skip them.
- Make ahead: Bake the layers up to 2 days ahead, wrapped at room temperature, or freeze up to 3 months.
- Storage: Keeps 4 days in the fridge. Bring to room temperature 30 minutes before serving.